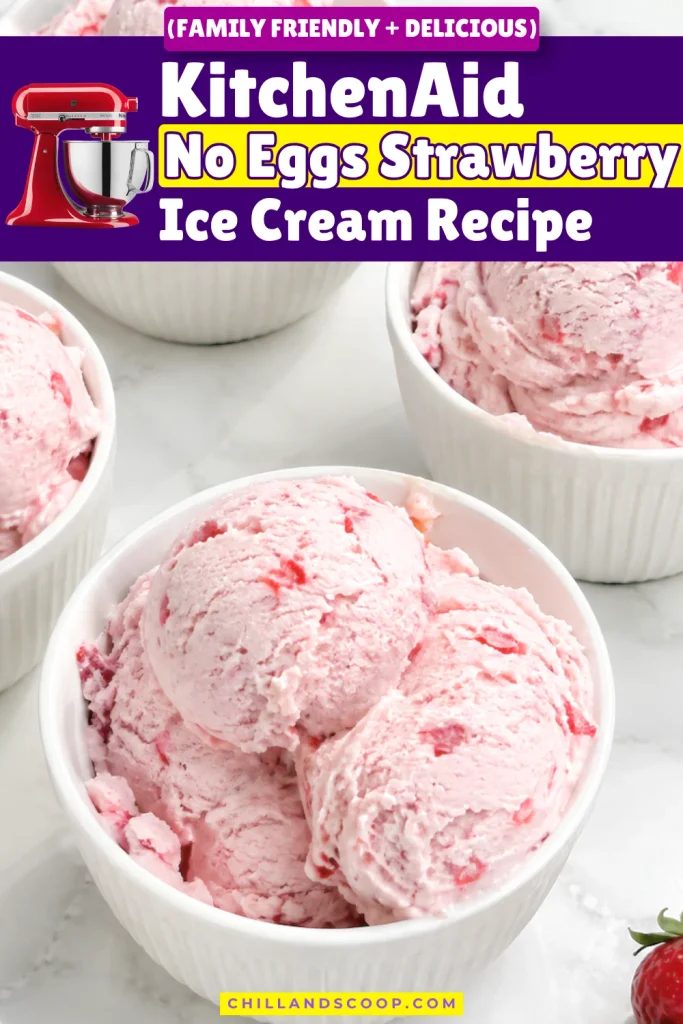
KitchenAid No Eggs Strawberry Ice Cream Recipe (Family friendly + Delicious)
This KitchenAid No Eggs Strawberry Ice Cream Recipe came from wanting homemade strawberry ice cream without making an egg custard first.
Fresh strawberries, a little sugar, heavy whipping cream, and whole milk are all it takes to get the base ready for the KitchenAid ice cream attachment.
What I like about making it this way is the control. I can leave some strawberry pieces in the mix instead of blending everything smooth, and I can keep the sweetness where I want it.
The fresh berries do most of the work, while a little strawberry extract gives the flavor an extra boost.
Today, I’m sharing my most request no egg strawberry ice cream recipe that I made using my KitchenAid mixer and the small steps that help it churn well.
One thing I would not rush is the KitchenAid bowl. It needs to freeze for at least 24 hours before you start.
After about 20 minutes of churning, you get soft, creamy strawberry ice cream that can be eaten right away.
Serve this ice cream soft right after churning, or freeze it longer for firm, scoopable strawberry ice cream. Either way, this is a simple homemade dessert with a lot of fresh berry flavor.
Why I Didn’t Use Egg in This KitchenAid Strawberry Ice Cream
I skip the egg yolks in this recipe because heavy cream already gives you all the richness you need without cooking a custard on the stove.
A lot of old-school ice cream recipes call for tempering egg yolks over heat, and honestly, that step trips people up.
One wrong move and you end up with sweet scrambled eggs instead of ice cream base.
My version cuts that risk out completely. Heavy whipping cream does the heavy lifting for texture, whole milk keeps the base loose enough to pour, and fresh strawberries plus a little strawberry extract handle the flavor.
Nothing gets cooked. You mix cold ingredients, chill them, and pour everything straight into your KitchenAid bowl. It’s faster, simpler, and still tastes like real strawberry ice cream.
My family doesn’t hold back their opinions on my kitchen experiments, so here’s what they actually said about this batch.
My Family Review on This KitchenAid No Egg Strawberry Ice Cream
My husband is picky about ice cream texture, and he still went back for seconds the same night I made this.
My kids liked finding little chunks of real strawberry in almost every bite, which told me the mashing step was worth the extra few minutes.
My mom, who has made egg custard ice cream her whole life, admitted she couldn’t tell this one skipped the eggs.
That’s a big compliment coming from her. Compared to the store-bought stuff we usually buy, this tastes fresher and a lot less like plain sugar.
Nobody in my house asked where the eggs went, they just asked when I was making it again.
That reaction alone tells you this recipe holds its own against the more complicated versions.
Perfect For
Hot summer afternoons — when the kitchen is too warm to bake and you want something cold fast.
Beginner ice cream makers — no custard, no eggs, no complicated steps to mess up.
Strawberry season — when berries are cheap, ripe, and actually taste like strawberries.
Quick dessert nights — churns in about 20 minutes once your bowl is frozen and ready.
Kids in the kitchen — mashing strawberries and pouring the mix is easy enough for little hands to help with.
Anyone with an egg allergy — this base never touches an egg, so it’s safe to share.
KitchenAid No Eggs Strawberry Ice Cream Ingredients
Fresh strawberries (1½ cups, chopped) – Fresh strawberries give the ice cream its main flavor, color, and small fruit pieces. I like ripe, sweet berries. Driscoll’s is an easy brand to find.
Granulated sugar (½ cup) – Sugar sweetens the berries and helps keep the ice cream from tasting too icy. Domino or C&H granulated sugar works well.
Salt (1 small pinch) – Just a little salt helps balance the sweetness and brings out the strawberry flavor. Regular table salt is all you need.
Strawberry extract (1 teaspoon) – Strawberry extract adds a stronger berry flavor without needing more fruit. McCormick strawberry extract is a simple option.
Heavy whipping cream (1 cup) – Heavy whipping cream gives the ice cream a rich, creamy texture. Land O Lakes, Organic Valley, or store-brand heavy cream will work.
Whole milk (1 cup) – Whole milk lightens the cream while keeping the ice cream smooth. I usually use regular whole milk from brands like Horizon or your favorite store brand.
Kitchen Appliances & Tools You’ll Need for this Recipe
- KitchenAid stand mixer: This powers the ice cream attachment.
- KitchenAid ice cream attachment: The dasher churns the cold mixture.
- Freezer: You need it to freeze the attachment bowl before churning.
- Mixing bowl: Use a medium bowl to mix the strawberry base.
- Potato masher: This breaks the strawberries into small pieces.
- Whisk: A whisk helps combine the milk, cream, and strawberry mixture.
- Measuring cups and spoons: Use these for accurate amounts.
- Freezer-safe container: Use one if you want firm, scoopable ice cream.
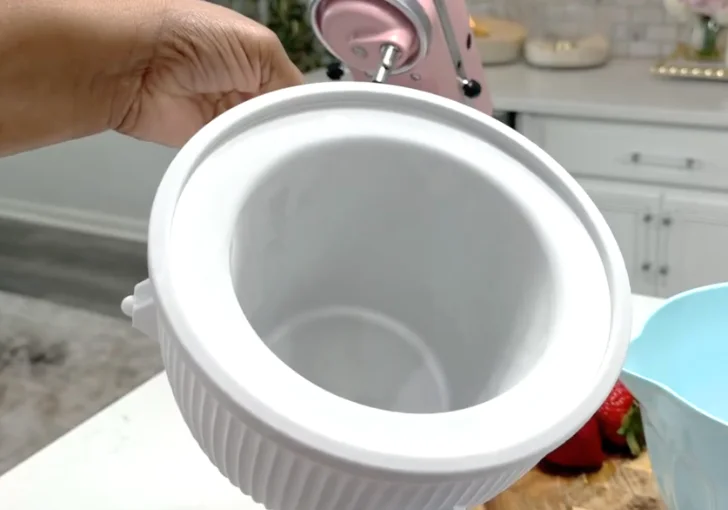
The most important piece is the KitchenAid ice cream bowl. Wash it, dry it fully, and freeze it for at least 24 hours before you churn.
How To Make KitchenAid No Eggs Strawberry Ice Cream (Recipe Instructions)
Step 1 | Freeze the KitchenAid Ice Cream Bowl
Wash and completely dry the KitchenAid ice cream attachment bowl before using it. Place the bowl in the freezer for at least 24 hours.
The bowl contains liquid that freezes and helps keep the ice cream mixture cold during churning.
Step 2 | Prepare the Strawberries
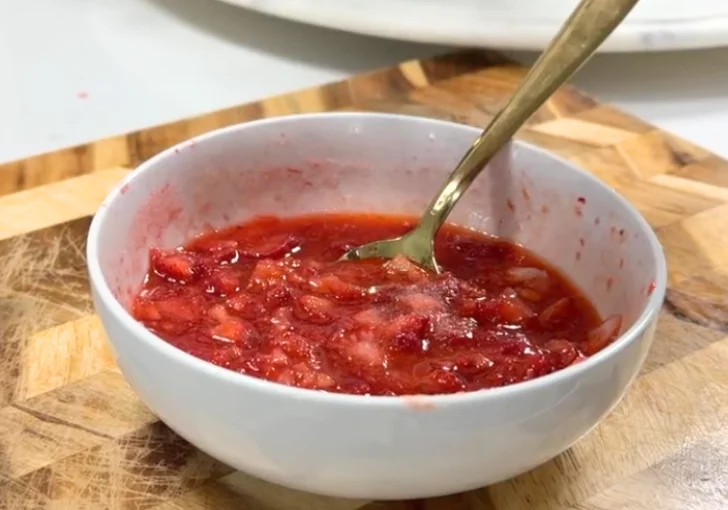
Cut the fresh strawberries into smaller pieces and place them in a bowl. Use a potato masher to break the strawberries into smaller chunks. An immersion blender can also be used if you prefer a smoother strawberry mixture.
Keep some strawberry pieces if you want bits of fruit throughout the finished ice cream.
Step 3 | Sweeten the Strawberries
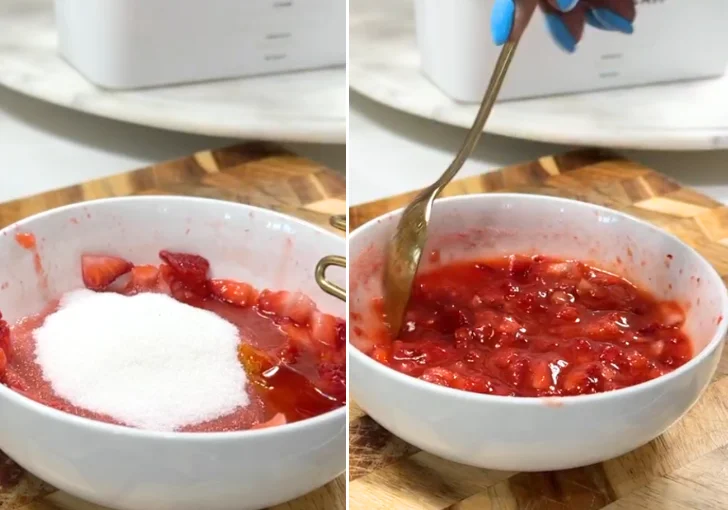
Add ½ cup of sugar and a pinch of salt to the mashed strawberries. The recipe uses ½ cup of sugar rather than 1 cup. Mix everything together until the sugar is well distributed through the strawberries.
Step 4 | Add the Strawberry Extract
Add strawberry extract to the strawberry mixture. Stir well to combine the extract with the strawberries and sugar.
Step 5 | Chill the Strawberry Mixture
Place the strawberry mixture in the refrigerator and let it sit for about 15 minutes. Chilling the mixture before adding it to the ice cream base helps keep everything colder and can speed up the ice cream-making process.
Step 6 | Mix the Ice Cream Base
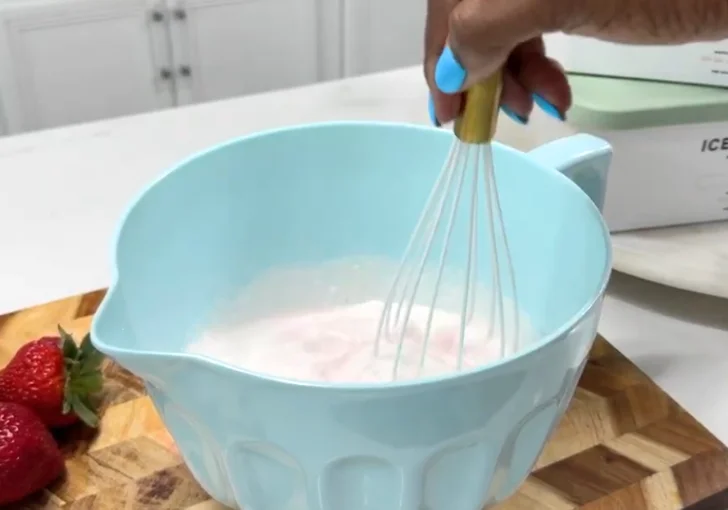
Add the heavy whipping cream and 1 cup of whole milk to a mixing bowl. Whole milk is used in the recipe, but 1% or 2% milk can also be substituted. Add the chilled strawberry mixture and whisk everything together until well incorporated.
Step 7 | Start the KitchenAid Attachment
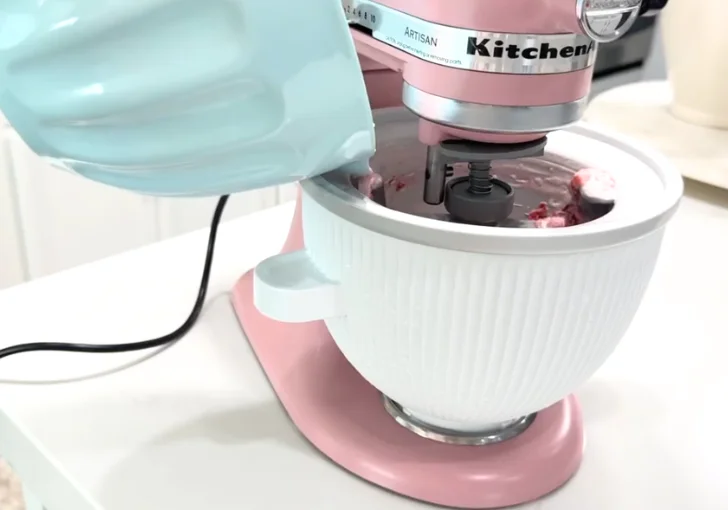
Make sure the frozen KitchenAid ice cream bowl is properly attached to the stand mixer, along with the dasher and hub assembly. Turn the mixer on and slowly pour the strawberry ice cream mixture into the frozen bowl. Pour gradually rather than adding the mixture all at once.
Step 8 | Churn the Strawberry Ice Cream
Let the KitchenAid ice cream attachment churn the mixture until it reaches a smooth, creamy soft-serve consistency. Homemade ice cream as being ready in about 20 minutes. At this stage, the ice cream is soft enough to serve immediately.
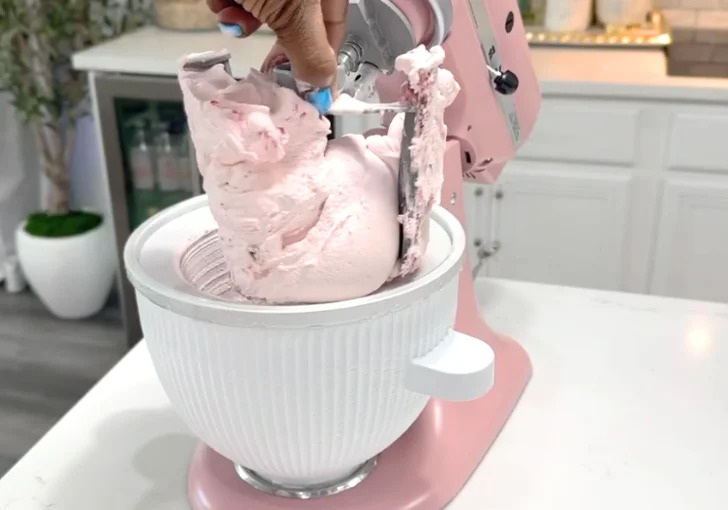
Step 9 | Serve as Soft Serve or Ripen
The freshly churned strawberry ice cream can be served right away as a soft-serve-style dessert. If you prefer firmer ice cream, transfer it to a freezer-safe container and place it back in the freezer to ripen until it reaches the texture you prefer.
How Does This No-Egg Strawberry Ice Cream Taste
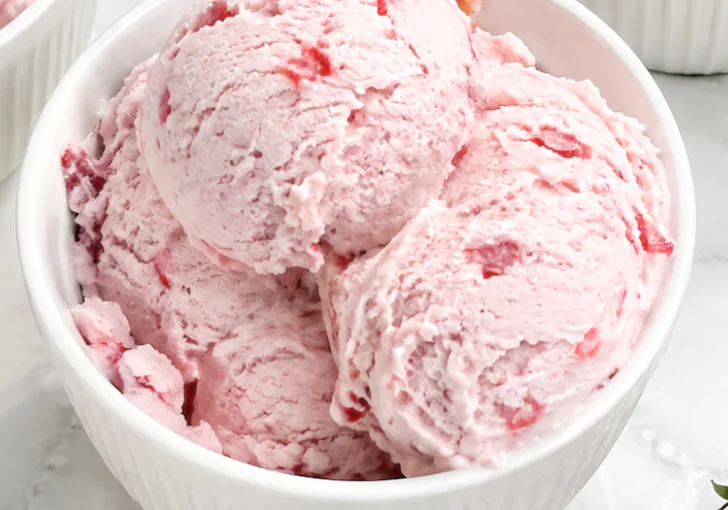
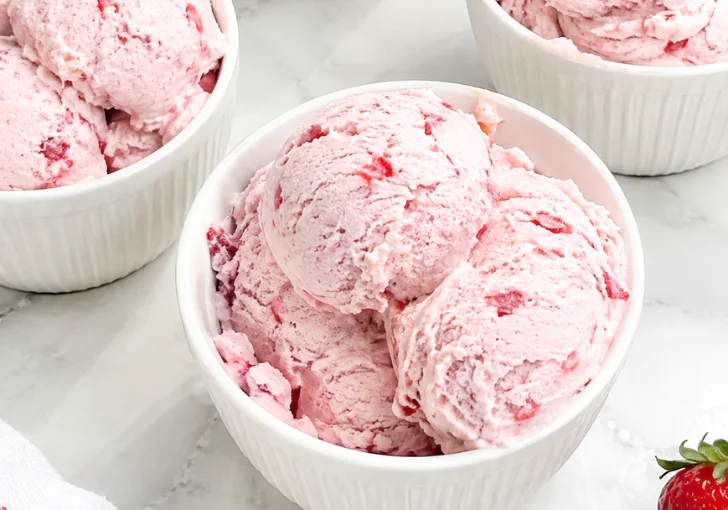
This no-egg strawberry ice cream has a fresh fruit taste with a creamy finish. The 1½ cups of strawberries give it the main flavor, while the strawberry extract makes that berry taste a little stronger.
The heavy whipping cream gives each spoonful a rich, creamy feel without making the ice cream taste like a cooked custard.
You may also get small pieces of strawberry throughout the ice cream, depending on how much you mash the fruit.
The ½ cup of sugar gives the recipe a sweet taste without taking over the strawberries.
Straight from the KitchenAid, the texture is soft and close to soft serve. After more freezer time, it becomes firmer and easier to scoop.
Tips & Notes For The Creamiest KitchenAid No Egg Strawberry Ice Cream
- Freeze your KitchenAid bowl for the full 24 hours, not less. A partially frozen bowl won’t churn your ice cream properly.
- Chill your mixing bowl and ingredients in the fridge before combining them. Cold ingredients churn faster and smoother.
- Don’t rush the pour into the mixer. Slow, steady pouring keeps the bowl’s temperature steadier.
- Mash your strawberries the night before and let them sit in the fridge overnight for deeper flavor.
- Use ripe, in-season strawberries whenever you can. Weak, pale berries make weak, pale ice cream.
- If your ice cream isn’t thickening after 20 minutes, your bowl likely wasn’t frozen long enough.
Soft-Serve vs. Firm Strawberry Ice Cream
Soft-Serve Texture
Serve the ice cream right after churning. It will be creamy, soft, and easy to scoop with a spoon. This is the best stage if you want to eat it right away.
Firmer Texture
For regular ice cream scoops, move the churned ice cream into a freezer-safe container. Freeze it until firm. This longer freezing period is the ripening stage. It gives the ice cream more body and makes it easier to serve with an ice cream scoop.
Creative & Fun KitchenAid No Egg Strawberry Ice Cream Variations to Try
Strawberry Shortbread – Crush a few shortbread cookies into small pieces and fold them into the churned ice cream. The buttery cookie pieces give the soft strawberry base a nice crunch.
Chocolate Strawberry – Add a small amount of chocolate sauce when serving. You can also fold in finely chopped chocolate after churning for little chocolate pieces throughout the ice cream.
Strawberry Berry Mix – Replace part of the strawberries with another fresh berry. Keep most of the fruit as strawberries so the main flavor still stays clear.
Strawberry Cream – Serve the ice cream with a small spoonful of whipped cream and sliced berries. This keeps the flavor simple while making the bowl feel a little richer.
Extra Strawberry – For a stronger berry taste, use a few thinly sliced strawberries as a topping. This gives you fresh fruit in addition to the strawberries mixed into the ice cream.
Cookie Crumble – Add crushed vanilla cookies after churning. Keep the pieces small so they stay easy to eat once frozen.
What to Serve with KitchenAid No Eggs Strawberry Ice Cream
Fresh Sliced Strawberries
I always keep extra strawberries on hand just for topping, since it doubles down on that fresh fruit flavor already in the base.
Sliced thin, they add a little texture and make each bowl look like it came from a real ice cream shop.
Strawberry Sauce
A warm drizzle of strawberry sauce turns a simple bowl into something that feels a little fancier.
It melts slightly into the ice cream, and I think it makes the whole thing taste more like a dessert you’d order out somewhere.
Crushed Shortbread Cookies
I like breaking up a few shortbread cookies and sprinkling them right on top before serving.
They add a buttery crunch against the creamy base, and the texture contrast is honestly one of my favorite parts of the bowl.
Chocolate Sauce
Chocolate and strawberry might sound like an odd match at first, but it works every single time in my kitchen.
A light drizzle is all you need. Too much and it starts to compete with the strawberry flavor instead of complementing it.
Whipped Cream
A spoonful of whipped cream on top never really hurts anything, and it adds a little extra richness without changing the flavor much.
I keep mine plain, since the ice cream already brings enough sweetness to the bowl on its own.
Fresh Berries
Tossing a handful of mixed berries on the side keeps things simple and colorful without overcomplicating the bowl.
Blueberries or raspberries work well here, and they add a nice tart contrast against the sweeter strawberry ice cream underneath.
Mistakes You Should Avoid While Making
- Not freezing the bowl long enough. Twenty-four hours is the minimum, and shortcutting it means your ice cream won’t set up right.
- Pouring the mixture in too fast. Dumping it all at once can raise the bowl’s temperature and slow down churning.
- Skipping the chill time on the strawberry mixture. That 15-minute rest in the fridge actually matters for the final texture.
- Using unripe strawberries. Pale, hard berries give you weak flavor no matter how much extract you add.
- Overfilling the bowl. The mixture expands while it churns, so leave room or you’ll end up with a mess.
- Letting the ice cream sit out too long before serving. It melts fast once it’s out of the freezer.
Leftover Storing & Freezing Instructions
Leftover Storage
Move leftover strawberry ice cream into a clean, freezer-safe container. Press the lid on tightly before placing it back in the freezer.
Try to keep the container as full as practical. Less empty space means less room for cold air to dry out the ice cream.
For the best texture, enjoy homemade ice cream within about 1 to 2 weeks. It can remain frozen longer, but the texture may become harder or develop ice crystals over time.
Freezing
Freshly churned ice cream can go straight into the freezer when you want a firm texture.
Use a shallow freezer-safe container when possible. Spread the ice cream evenly and cover it tightly.
When you want to serve it, let the container sit on the counter for a few minutes. Homemade ice cream can freeze quite firm, so a short rest makes scooping easier.
Do not leave it sitting out for a long time. Scoop what you need and return the rest to the freezer.
FAQs
Can I make this without a KitchenAid stand mixer?
This ice cream recipe is built around the KitchenAid ice cream attachment bowl, which freezes solid and churns the mixture at the same time. If you don’t own that attachment, a separate ice cream maker with its own frozen bowl should work in a similar way, though churning times might be a little different from what’s listed here.
Why doesn’t this recipe use egg yolks?
Egg yolks are usually cooked into a custard base for richness, but that step adds extra time and a real risk of scrambling the eggs if you’re not careful. Heavy whipping cream gives this recipe the same rich, creamy texture without any cooking, which makes the whole process faster and much less stressful.
Can I use frozen strawberries instead of fresh?
Frozen strawberries can work in a pinch, but let them thaw completely first and drain off any extra liquid before mashing. Fresh strawberries give you better texture and a stronger flavor overall, so fresh is the better choice whenever strawberries are in season where you live.
Do I really need strawberry extract?
Strawberry extract isn’t required, but it does boost the fruit flavor, especially if your strawberries aren’t fully ripe or in season. If you skip it, your ice cream will still taste like strawberries, just with a slightly milder, more subtle flavor overall.
How long does the KitchenAid bowl actually need to freeze?
The bowl needs a full 24 hours in the freezer before you use it. The liquid inside the walls of the bowl needs that entire time to freeze solid, and using it too early means your ice cream won’t churn or thicken properly.
Can I substitute the whole milk?
Yes, you can use 1% or 2% milk instead of whole milk if that’s what you have in your fridge. Your ice cream will turn out slightly less rich with lower fat milk, but it will still churn and taste good overall.
Why isn’t my ice cream thickening in the machine?
This almost always comes down to the bowl not being frozen long enough before you started churning. Room temperature ingredients, an overfilled bowl, or a kitchen that’s too warm can also slow down how well your ice cream sets up while churning.
How long does homemade strawberry ice cream last in the freezer?
Homemade ice cream without preservatives is best eaten within one to two weeks for the best texture and flavor. It’s still safe to eat a bit longer than that, but ice crystals tend to build up the longer it sits in the freezer.
What can I use instead of a potato masher for the strawberries?
A fork works fine for mashing smaller amounts of strawberries if you don’t have a potato masher on hand. For a smoother, more blended texture, an immersion blender or even a regular blender pulsed a few times will get the job done quickly.
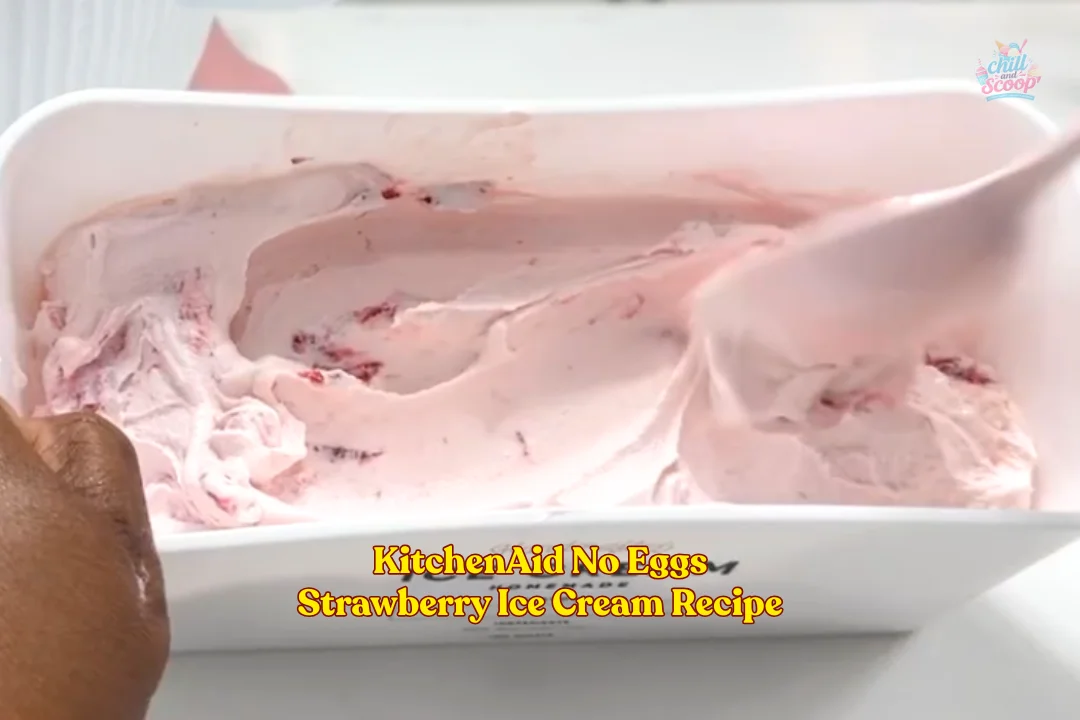
KitchenAid No Eggs Strawberry Ice Cream Recipe
Ingredients
Equipment
Method
- Step 1 | Freeze the KitchenAid Ice Cream Bowl — Wash and completely dry the KitchenAid ice cream attachment bowl before using it. Place the bowl in the freezer for at least 24 hours.
- Step 2 | Prepare the Strawberries — Cut the fresh strawberries into smaller pieces and place them in a bowl. Use a potato masher to break the strawberries into smaller chunks. You can also use an immersion blender if you prefer a smoother strawberry mixture.
- Step 3 | Sweeten the Strawberries — Add ½ cup of sugar and a pinch of salt to the mashed strawberries. Mix well until the sugar is evenly distributed through the fruit. The recipe uses ½ cup of sugar rather than 1 cup, keeping the strawberry flavor from being covered by too much sweetness.
- Step 4 | Add the Strawberry Extract — Add the strawberry extract to the strawberry mixture and stir well.
- Step 5 | Chill the Strawberry Mixture — Place the strawberry mixture in the refrigerator and let it chill for about 15 minutes.
- Step 6 | Mix the Ice Cream Base — Add the heavy whipping cream and 1 cup of whole milk to a mixing bowl. You can use 1% or 2% milk instead of whole milk.
- Step 7 | Start the KitchenAid Attachment — Attach the frozen ice cream bowl, dasher, and hub assembly to the KitchenAid stand mixer. Turn the mixer on before adding the ice cream mixture, then slowly pour the strawberry mixture into the moving bowl. Pour steadily so the mixture freezes evenly around the dasher.
- Step 8 | Churn the Strawberry Ice Cream — Let the KitchenAid ice cream attachment churn the mixture until it becomes thick, creamy, and reaches a soft-serve consistency.
- Step 9 | Serve or Freeze Until Firm — Serve the strawberry ice cream immediately for a soft-serve texture, or transfer it to a freezer-safe container if you prefer firmer ice cream. Place it in the freezer and let it ripen until it reaches the consistency you like.
This KitchenAid No Eggs Strawberry Ice Cream Recipe keeps homemade ice cream simple.
There are no eggs to separate, no custard to cook, and no long stove-top step before churning.
Fresh strawberries bring the fruit flavor, while heavy cream gives the ice cream its rich and creamy feel.
The most important thing is to freeze the KitchenAid bowl for at least 24 hours and keep the strawberry mixture cold before churning. From there, the attachment does the work.