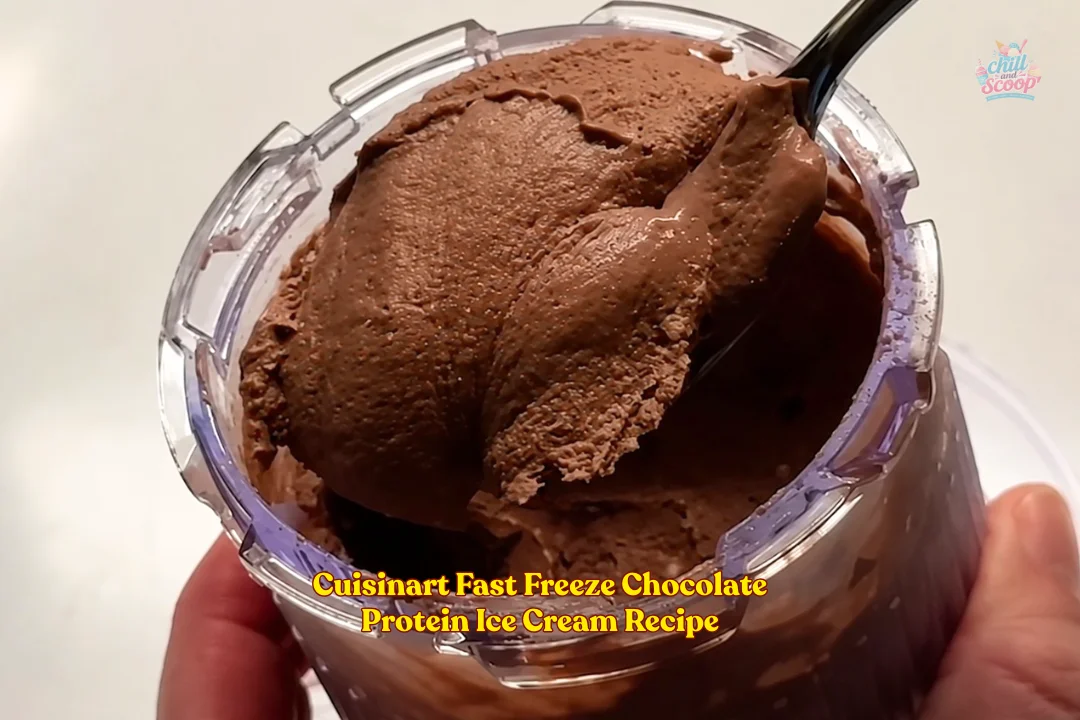
Cuisinart Fast Freeze Chocolate Protein Ice Cream Recipe (My Favourite Dessert)
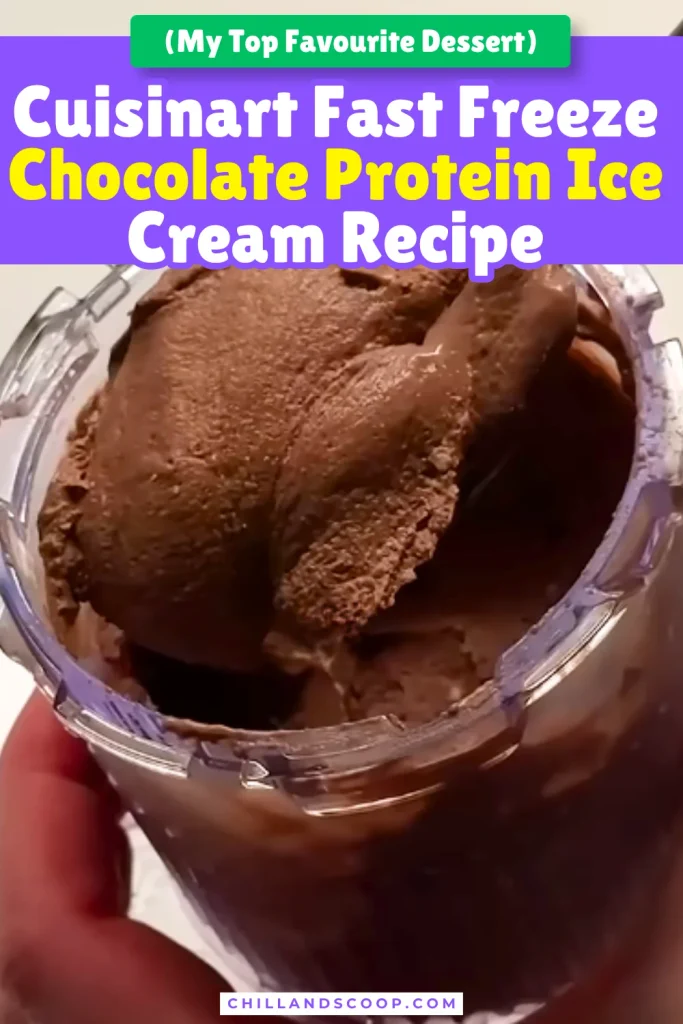
I didn’t want another protein dessert that tasted like a protein shake straight from the freezer. I wanted something that actually felt like chocolate ice cream—cold, creamy, and rich enough to enjoy with a spoon.
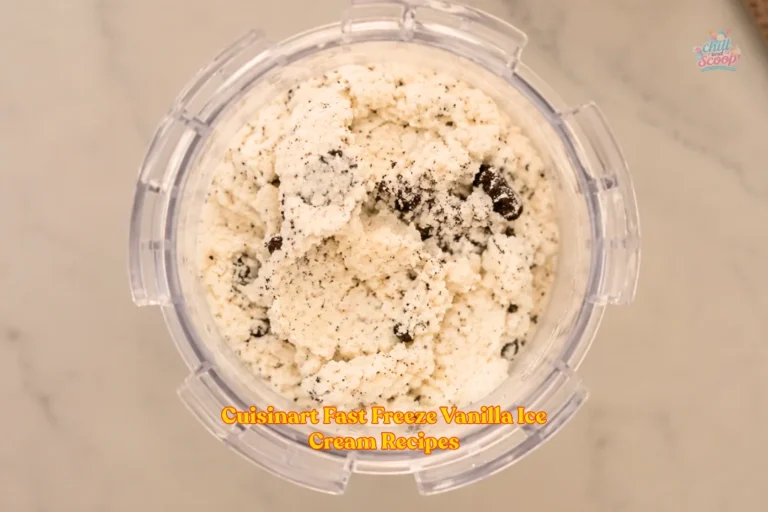
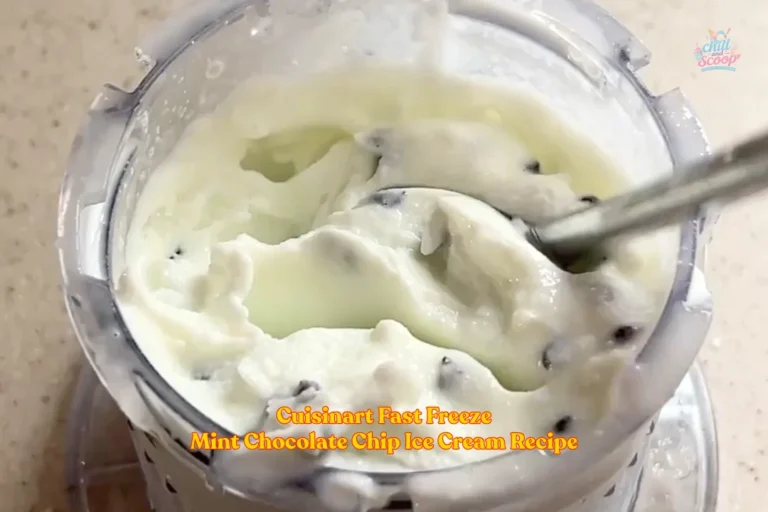
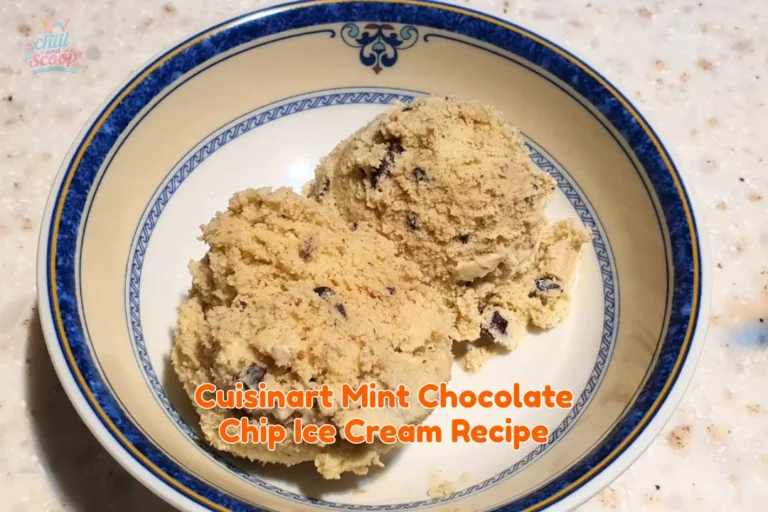
That’s what led me to this Cuisinart Fast Freeze Chocolate Protein Ice Cream Recipe. I’ve already had fun making flavors like vanilla ice cream and mint chocolate chip ice cream, so chocolate was the next one I wanted to get right. The trick is keeping the chocolate flavor strong without making the base too heavy.
For this batch, I use canned coconut milk, chocolate protein powder, cocoa powder, maple syrup, vanilla, and a pinch of sea salt. The base comes together in about 5 minutes.
Then it needs 24 hours in the freezer before the Cuisinart Fast Freeze turns that frozen mix into a soft, scoopable treat.
Today, I’m sharing my chocolate protein ice cream with that can be made with your new Cuisinart fast freeze. The base takes about 5 minutes to blend, then it needs 24 hours in the freezer before the machine takes over.
What Protein Powder Should I Choose
I use chocolate protein powder for this recipe. It gives the ice cream more chocolate taste and adds the protein without needing another sweet ingredient.
Pick a chocolate powder that you already enjoy drinking. That matters because the flavor stays in the finished ice cream.
I would not buy a new powder just for this recipe. Use one you know tastes good to you.
Can I Make the Base Richer With More Cream
I like having a richer option when I want a softer, fuller ice cream texture. A cream-and-milk base can give you that change, but it will also make the finished dessert feel heavier.
Yes, you can replace the ¼ cup whole milk in a cream-and-milk version with another ¼ cup heavy cream. This makes the base richer and creamier.
The trade-off is simple:
- More heavy cream gives you a richer base.
- The finished ice cream can feel heavier and more creamy.
- The cream-and-milk ratio gives a lighter balance between richness and milk flavor.
This note applies to a cream-and-milk version of the base. The recipe below uses ¾ cup canned coconut milk.
This Ice Cream is Perfect For
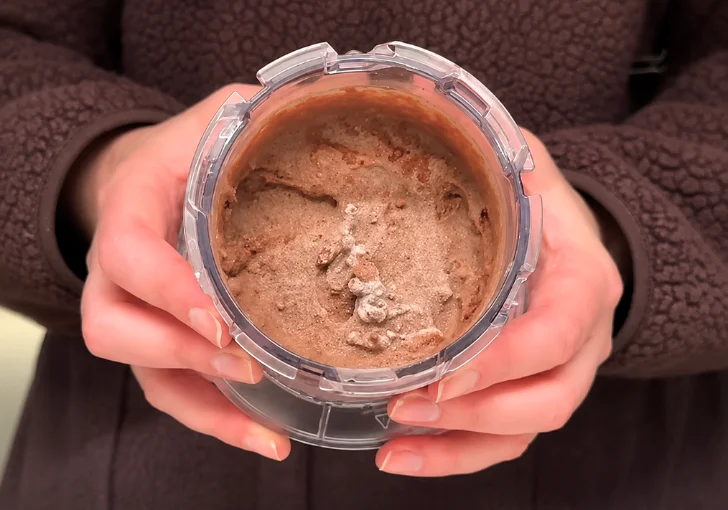
Sometimes I make a batch because I want dessert. Other times, I just want something cold after a meal. This little recipe fits both.
- A quick chocolate treat — The base takes about 5 minutes to blend.
- Protein-focused snacks — Chocolate protein powder gives the dessert extra protein.
- Small portions — The recipe makes about one serving, so you are not stuck with a huge tub.
- Meal prep — Portion the finished ice cream into a small container and keep it frozen.
- Chocolate cravings — Cocoa powder gives the base a stronger chocolate taste.
- Dairy-free eating — The main recipe uses canned coconut milk instead of dairy milk.
Cuisinart Fast Freeze Chocolate Protein Ice Cream Ingredients
¾ cup canned coconut milk — I use canned coconut milk because it gives the base a creamy texture and works as the dairy-free liquid.
1 scoop chocolate protein powder — I use a chocolate powder that tastes good on its own. It adds protein and more chocolate flavor.
1½ tablespoons cocoa powder — This gives the ice cream a deeper cocoa taste. I like using enough to make the chocolate stand out.
1 tablespoon maple syrup — I use maple syrup for sweetness. It also helps soften the sharp taste of cocoa.
¼ teaspoon vanilla extract — A little vanilla rounds out the chocolate flavor without taking over.
Pinch of sea salt — I never skip the tiny pinch. Salt helps the chocolate taste fuller and keeps the sweetness in check.
How To Make Cuisinart Fast Freeze Chocolate Protein Ice Cream
Step 1 | Blend the Ice Cream Base
Add ¾ cup canned coconut milk, 1 scoop chocolate protein powder, 1½ tablespoons cocoa powder, 1 tablespoon maple syrup, ¼ teaspoon vanilla extract, and a pinch of sea salt to a blender. Blend until the mixture is completely smooth and the cocoa powder and protein powder are fully incorporated.
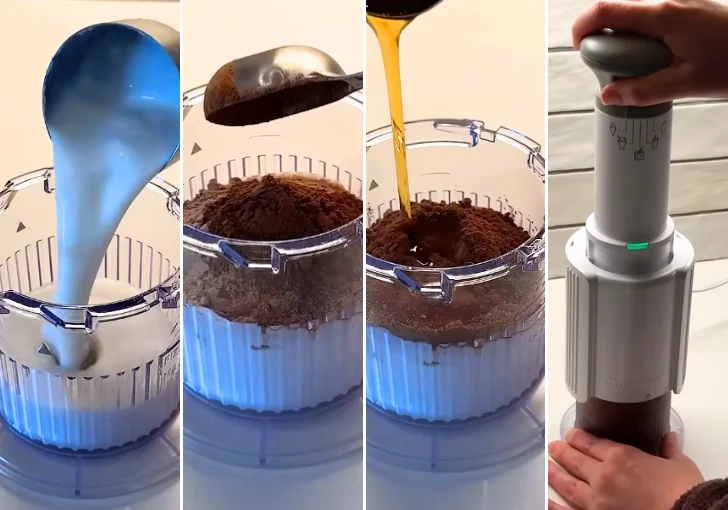
Step 2 | Freeze the Mixture
Transfer the blended chocolate protein ice cream mixture to the Cuisinart Fast Freeze container. Make sure the mixture is prepared according to the machine’s container requirements, then freeze it for 24 hours. The mixture needs to be fully frozen before processing.
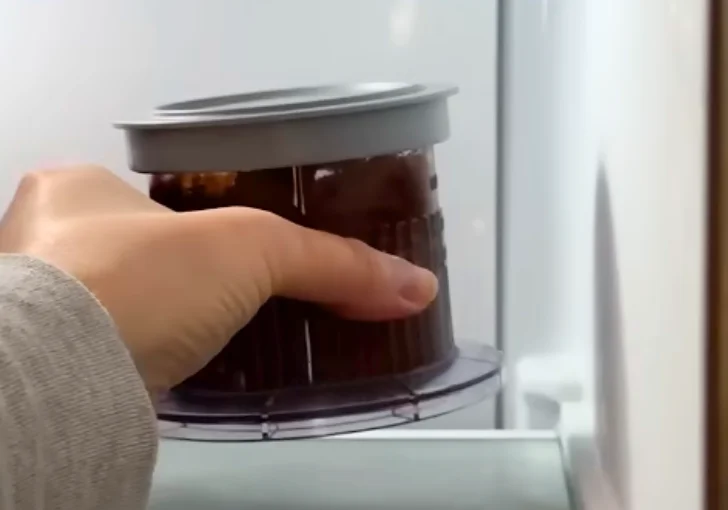
Step 3 | Process the Ice Cream
After the mixture has frozen for 24 hours, place the container into the Cuisinart Fast Freeze machine. Select the ice cream preset and start the machine. Allow the preset to process and churn the frozen mixture until it reaches an ice cream consistency.
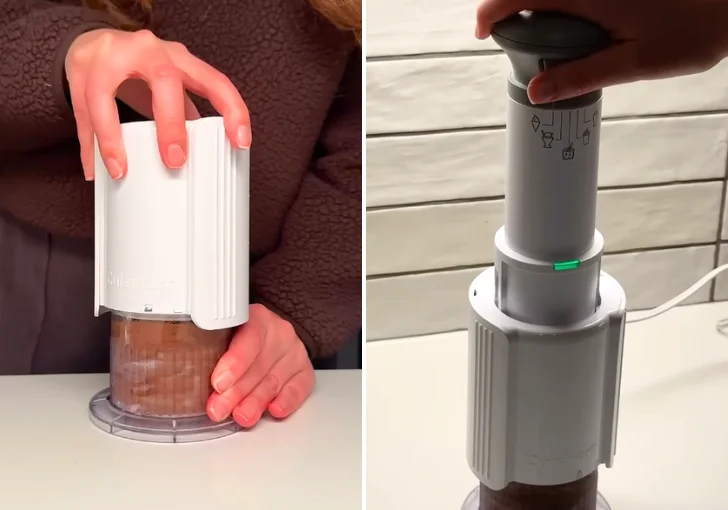
Step 4 | Serve the Chocolate Protein Ice Cream
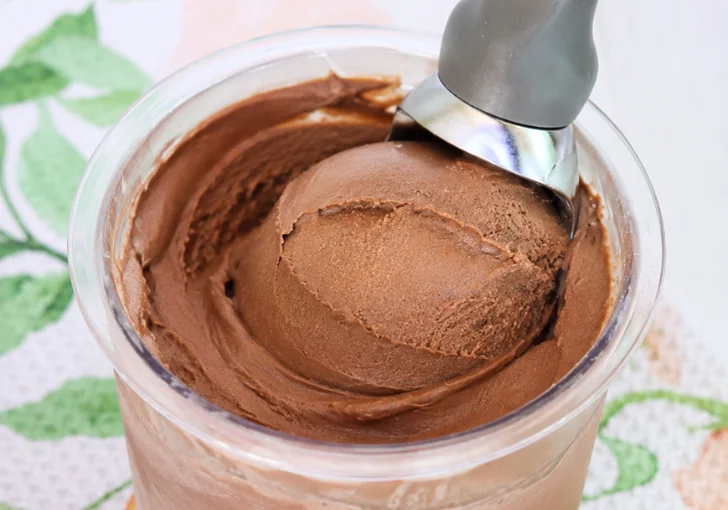
Once the processing cycle is complete, serve the chocolate protein ice cream right away for a freshly churned texture. For meal prep, portion the finished ice cream into individual containers and keep it frozen so you have a protein-packed dessert ready during the week.
Tips & Notes To Get the Best Chocolate Protein Ice Cream Texture
- Use full-fat canned coconut milk, not the carton kind. The fat content is what gives this ice cream its creamy body.
- Shake the coconut milk can well before opening, since it separates and you want the fat and liquid combined.
- Blend a little longer than you think you need to. Protein powder clumps hide easily and ruin the texture if they don’t fully dissolve.
- Don’t skip the full 24-hour freeze. A half-frozen base won’t churn right, and you’ll end up with something closer to a milkshake.
- Let the ice cream sit at room temperature for about 5 minutes before scooping if it’s been in the freezer a while. It firms up fast because of the coconut fat.
Can You Make It Without Maple Syrup
I get asked about swapping the maple syrup pretty often, so here’s the honest answer.
Maple syrup sweetens this base and balances the bitterness from the cocoa powder. Leave it out or swap it for another sweetener, and the sweetness level will shift.
Some sweeteners also freeze differently than maple syrup does, which can change the final texture. I haven’t tested this recipe with a substitute myself, so I can’t promise the same results.
If you experiment, start with a small amount and taste the base before it goes in the freezer.
Creative & Fun Chocolate Protein Ice Cream Recipe Variations to Try
Chocolate Peanut Butter — Add a spoonful of creamy peanut butter to the blended base. It gives the chocolate a nutty taste and makes the dessert feel much richer.
Chocolate Banana — Blend a small amount of ripe banana into the base. The banana adds natural sweetness and gives the chocolate flavor a soft, fruity note.
Chocolate Coconut — Keep the coconut milk base and add unsweetened shredded coconut after processing. I like the little bits because they give each spoonful more texture.
Chocolate Mint — Add a small amount of mint flavoring to the blended base. Start with very little, since mint can quickly cover the cocoa taste.
Chocolate Almond — Add a few chopped toasted almonds after processing. The crunchy pieces work well against the soft chocolate ice cream.
Chocolate Berry — Spoon fresh or frozen berries over the finished ice cream. The tart berry flavor cuts through the rich chocolate nicely.
Chocolate Cookie Crunch — Fold in crushed chocolate sandwich cookies after processing. Add them at the end so the pieces stay crunchy instead of becoming soft.
Cuisinart Fast Freeze Chocolate Protein Ice Cream Troubleshooting
- Ice cream came out soupy: your base wasn’t fully frozen before churning. Give it another 4 to 6 hours in the freezer and try again.
- Texture is icy instead of creamy: this usually means light coconut milk was used instead of full-fat, or the base wasn’t blended long enough to fully combine.
- Protein powder clumps showed up: blend for a full 60 to 90 seconds and scrape the sides once partway through.
- Machine struggled to churn: the container was likely overfilled. Stick to the fill line in your Cuisinart manual, usually around three-quarters full.
- Ice cream froze too hard in storage: coconut fat firms up more than dairy does, so let it sit out for 5 to 10 minutes before scooping.
Leftover Storing & Freezing Instructions
Leftover Restoring
Place leftover ice cream in a small freezer-safe container with a tight lid. Press the lid on well to keep extra air away from the surface.
For the best texture, I would not leave the finished ice cream sitting out for a long time. Return it to the freezer soon after serving.
Freezing
Keep the container in the freezer. The ice cream will become firmer as it freezes, especially because this ice cream contains protein powder.
When you want to eat it, let it sit out for around 5–10 minutes, then check the texture. You can give it a little more time if needed.
I prefer small containers because they reduce the amount of time the whole batch spends warming and refreezing.
FAQs
Can I use regular dairy milk instead of coconut milk?
You can, though the texture and flavor will change quite a bit. Coconut milk has natural fat that gives this ice cream its creamy, scoopable texture without any dairy. Regular milk has far less fat, so the base would likely freeze harder and icier, and you’d lose the slight coconut flavor that balances the chocolate.
Is this ice cream keto friendly?
It can be, depending on your protein powder and how strict your carb limit is. Canned coconut milk fits a keto approach well since it’s high in fat and low in carbs. The maple syrup adds natural sugar, so if you’re tracking carbs closely, you may want to swap it for a keto-friendly sweetener you already use.
Can I use a different ice cream maker instead of the Cuisinart Fast Freeze?
Yes, though your process might look a little different depending on the machine. Some ice cream makers use a pre-frozen bowl instead of a pre-frozen mixture, so check your machine’s manual for its specific freezing and churning instructions before following this recipe exactly as written.
Why did my mixture come out icy instead of creamy?
This usually happens when light coconut milk gets used instead of full-fat, since the extra fat in full-fat coconut milk is what keeps the texture smooth. It can also happen if the base wasn’t blended long enough, leaving tiny bits that freeze into ice crystals instead of a smooth mixture.
Is this recipe vegan?
It can be, depending on the protein powder you pick. The coconut milk, cocoa powder, maple syrup, and vanilla extract in this recipe are all plant-based already. Just choose a plant-based chocolate protein powder like Vega or a similar brand, and the entire recipe stays fully vegan start to finish.
How long does the churning cycle take?
This depends on your specific Cuisinart Fast Freeze preset, since churn times can vary a bit by model. Most ice cream presets on this machine run somewhere between 20 and 40 minutes. Check your machine’s manual for the exact preset time so you know what to expect before you start.
Can I skip the 24-hour freeze and churn it sooner?
It’s not a good idea. The Cuisinart Fast Freeze method relies on the base being completely frozen solid before churning starts. If you churn it too early, the machine won’t have enough frozen structure to work with, and you’ll likely end up with a soupy, half-frozen mixture instead of ice cream.
Cuisinart Fast Freeze Chocolate Protein Ice Cream Recipe (My Favourite Dessert)
Ingredients
Method
- Step 1 | Combine the Ice Cream Base – Add the heavy whipping cream, whole milk, vanilla bean paste or vanilla extract, brown sugar, and a small pinch of salt to a small freezer-safe pint jar. Use 2 tablespoons of brown sugar for a moderately sweet ice cream, or increase it to 3 tablespoons if you prefer a sweeter flavor.
- Step 2 | Whisk Until Dissolved – Whisk the mixture thoroughly until the brown sugar and salt are fully dissolved and the liquid looks evenly combined. Make sure no noticeable sugar granules remain at the bottom of the jar.
- Step 3 | Freeze the Ice Cream Base – Secure the lid tightly on the pint jar and place it in the freezer. Freeze the mixture until it is completely solid. The base needs to be fully frozen before using the Cuisinart Fast Freeze machine.
- Step 4 | Rest the Frozen Base – Remove the frozen pint from the freezer and let it sit on the counter for 10 minutes. This short resting period makes the frozen base easier for the machine to process without leaving it out long enough to melt significantly.
- Step 5 | Attach the Blade – Place the blade onto the frozen pint according to the Cuisinart Fast Freeze setup. Make sure the blade is properly secured before placing the pint into the machine.
- Step 6 | Process the Vanilla Ice Cream – Select the regular ice cream setting and process the frozen base. For the creamiest texture, run the ice cream through 2–3 passes. Three passes give the smoothest result, but avoid processing more than necessary because continued blending can cause the ice cream to melt.
- Step 7 | Serve the Vanilla Ice Cream – After the third pass, the vanilla ice cream is ready to eat. Serve it immediately for a soft, creamy texture, or transfer it to a freezer-safe container if you want a firmer consistency.
Give this Cuisinart Fast Freeze Chocolate Protein Ice Cream Recipe a shot the next time a chocolate craving hits and you still want something that works with your goals. It’s simple, it’s rich, and it proves protein desserts don’t have to taste like a consolation prize.