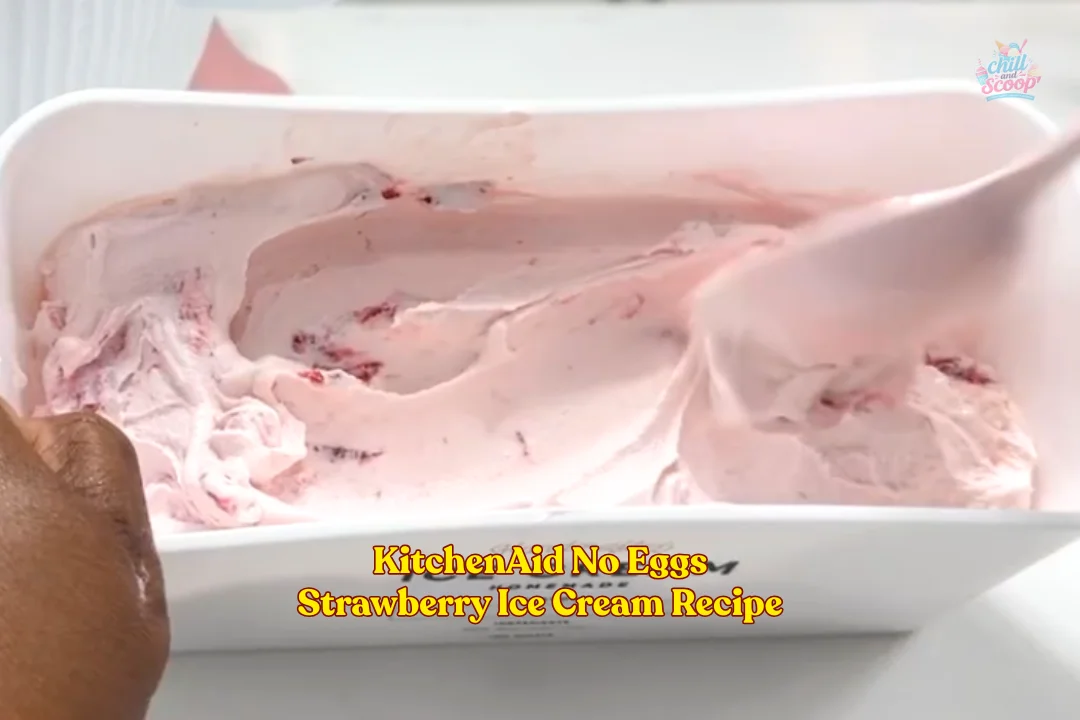
Step 1 | Freeze the KitchenAid Ice Cream Bowl — Wash and completely dry the KitchenAid ice cream attachment bowl before using it. Place the bowl in the freezer for at least 24 hours.
Step 2 | Prepare the Strawberries — Cut the fresh strawberries into smaller pieces and place them in a bowl. Use a potato masher to break the strawberries into smaller chunks. You can also use an immersion blender if you prefer a smoother strawberry mixture.
Step 3 | Sweeten the Strawberries — Add ½ cup of sugar and a pinch of salt to the mashed strawberries. Mix well until the sugar is evenly distributed through the fruit. The recipe uses ½ cup of sugar rather than 1 cup, keeping the strawberry flavor from being covered by too much sweetness.
Step 4 | Add the Strawberry Extract — Add the strawberry extract to the strawberry mixture and stir well.
Step 5 | Chill the Strawberry Mixture — Place the strawberry mixture in the refrigerator and let it chill for about 15 minutes.
Step 6 | Mix the Ice Cream Base — Add the heavy whipping cream and 1 cup of whole milk to a mixing bowl. You can use 1% or 2% milk instead of whole milk.
Step 7 | Start the KitchenAid Attachment — Attach the frozen ice cream bowl, dasher, and hub assembly to the KitchenAid stand mixer. Turn the mixer on before adding the ice cream mixture, then slowly pour the strawberry mixture into the moving bowl. Pour steadily so the mixture freezes evenly around the dasher.
Step 8 | Churn the Strawberry Ice Cream — Let the KitchenAid ice cream attachment churn the mixture until it becomes thick, creamy, and reaches a soft-serve consistency.
Step 9 | Serve or Freeze Until Firm — Serve the strawberry ice cream immediately for a soft-serve texture, or transfer it to a freezer-safe container if you prefer firmer ice cream. Place it in the freezer and let it ripen until it reaches the consistency you like.