Dash My Mug 4 Ingredient Sugar Free Vanilla Ice Cream Recipe
The first batch of this Dash My Mug 4 ingredient sugar free vanilla ice cream recipe came together on a warm afternoon when I wanted something cold, creamy, and easy. Four simple ingredients and my little Dash ice cream maker were all it took.
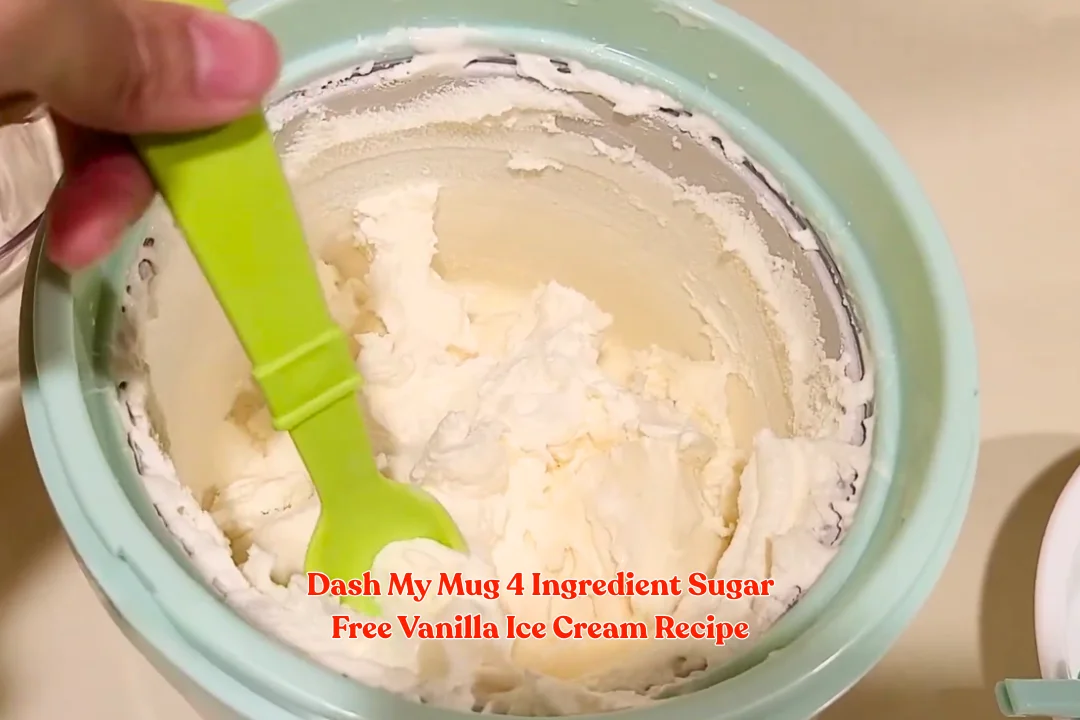
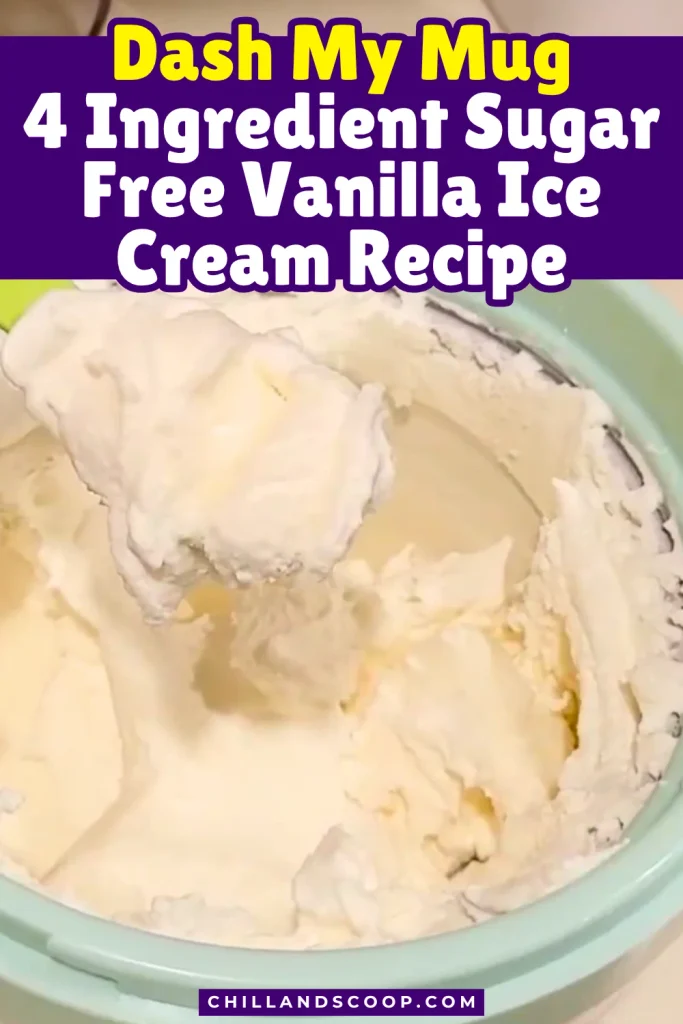
What stood out to me was the texture. Right from the machine, it has that soft-serve feel with a smooth vanilla taste and a rich finish from the heavy cream.
The monk fruit sweetener can leave a tiny bit of graininess, but that didn’t bother me once everything was frozen and ready to eat.
This is a nice homemade option when regular ice cream feels too sweet. I also like that there is no egg mixture to cook or long prep to deal with.
Serve your scoop with fresh strawberries, blueberries, chopped pecans, or a little sugar-free chocolate sauce.
You can also put it next to a warm brownie and let the cold vanilla ice cream melt right over the top.
Why Dash My Mug is Perfect For This 4 Ingredient Sugar Free Vanilla Ice Cream
I like using my Dash ice cream maker for this recipe because it keeps the process small and simple. I don’t need a large machine or a pile of kitchen tools. The recipe makes a creamy vanilla ice cream that works well for a small serving.
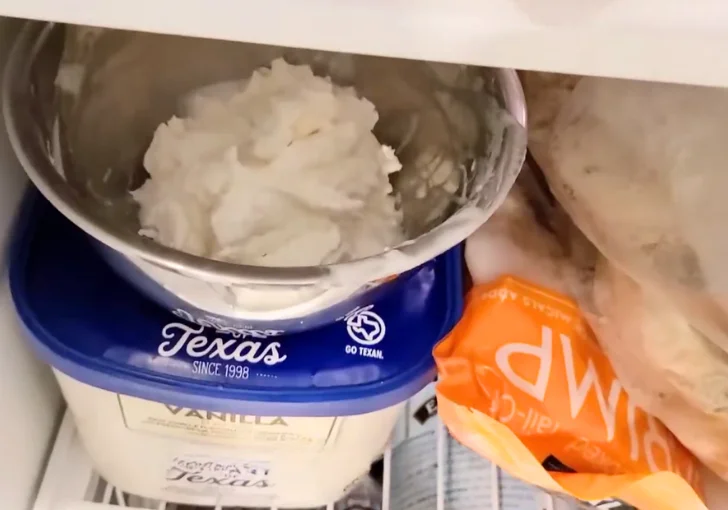
The Dash freezer bowl is the part I pay the most attention to. It needs to be completely frozen before I start. If the bowl is not cold enough, the ice cream may stay too thin and may not freeze well.
Here are the things I like most about making this recipe in a Dash machine:
Small batch: I can make a modest amount without filling my freezer with a large container.
Four main ingredients: The base is short and easy to remember.
Quick prep: Mixing the ingredients takes only a few minutes.
Soft-serve texture: I get a soft, creamy texture right after the 30-minute churn.
Easy to firm up: I can freeze it for about an hour when I want a harder scoop.
Simple vanilla flavor: Vanilla works with berries, nuts, coffee, and many desserts.
Beginner friendly: There are no eggs to temper and no stovetop custard to make.
One small detail makes a big difference: I always freeze the Dash bowl for 8–12 hours before I start. I usually give it a full night in the freezer so I know it is ready.
The finished ice cream can also have a little graininess from the monk fruit sweetener. I don’t worry about that. Monk fruit sweetener does not dissolve like regular sugar, and a small amount of graininess is normal in this recipe.
What Can I Use Instead of Monk Fruit Sweetener
I would use allulose instead of monk fruit sweetener if I wanted a smoother texture, since allulose dissolves more easily and usually gives the ice cream a softer, less grainy feel.
I find monk fruit convenient and it works well in this recipe, but the exact sweetness depends on the product blend.
If I use allulose, I check the package for the correct sweetness and adjust the amount rather than assuming every brand measures the same.
For a ice cream recipe that needs to stay very low in sugar, I also check the nutrition label because sweetener blends can contain different ingredients.
This Sugar Free Vanilla Ice Cream is Perfect For
A cool afternoon treat – I like a small bowl when I want something cold without making a big dessert.
A simple after-dinner dessert – Vanilla is easy on the palate and pairs well with coffee or berries.
Fruit desserts – I spoon it beside warm berries, baked apples, or grilled peaches.
Small-batch cravings – The Dash machine is handy when I only want a little ice cream.
A low-sugar option – I can use a monk fruit sweetener that fits my eating plan.
Dessert toppings – A scoop gives brownies, pancakes, and waffles a creamy finish.
4-Ingredient Sugar Free Vanilla Ice Cream Ingredients
1 cup heavy whipping cream – I use full-fat heavy whipping cream because it gives the ice cream a rich, creamy texture. It also helps make each scoop feel smooth instead of thin or icy.
½ cup whole milk – Whole milk balances the heavy cream and keeps the ice cream from becoming too heavy. I use regular whole milk for its mild taste and creamy texture.
¼ cup monk fruit sweetener – I use granulated monk fruit sweetener in place of regular sugar. It adds sweetness while keeping the recipe sugar-free, though a little graininess can remain after mixing.
1 teaspoon vanilla extract – I use vanilla extract to give the ice cream its classic vanilla flavor. A teaspoon is enough to add a warm, sweet note without covering up the creamy taste.
Kitchen Appliances You’ll Need
- Dash ice cream maker – This churns and freezes the ice cream base.
- Dash freezer bowl – The bowl must be completely frozen before use.
- Mixing bowl – I use a medium bowl to combine the ingredients.
- Mixing spoon or whisk – Either works for gently mixing the base.
- Funnel, optional – I find a funnel helpful when pouring the mixture into the machine.
- Soft silicone or plastic spoon/scoop – I use a soft utensil to protect the inside coating of the freezer bowl.
How To Make Dash My Mug 4 Ingredient Sugar Free Vanilla Ice Cream
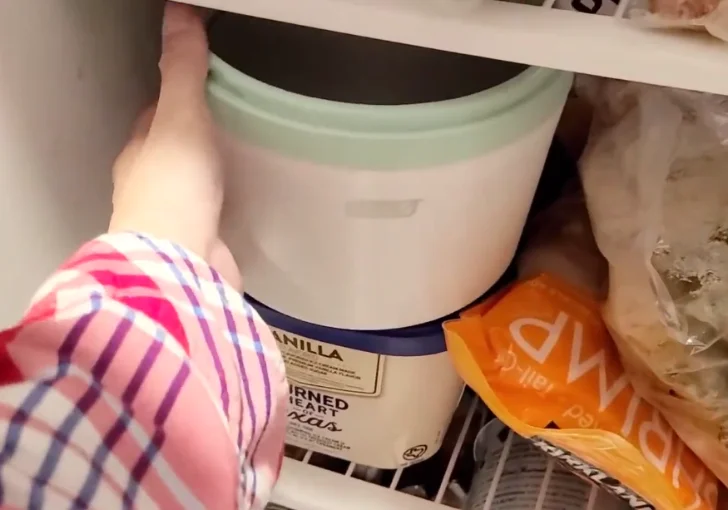
Step 1 – Freeze the Dash Bowl
Place the clean Dash freezer bowl in the freezer and leave it there for 8–12 hours, making sure it is completely frozen before starting the recipe. The freezing liquid inside the bowl’s walls needs to be solid for the machine to properly churn and freeze the ice cream.
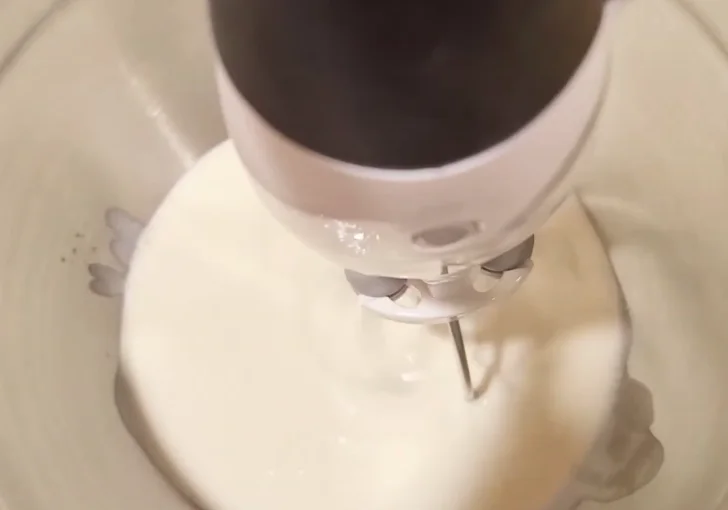
Step 2 – Combine the Cream and Milk
Add 1 cup heavy whipping cream and ½ cup whole milk to a mixing bowl. Stir the two ingredients together until evenly combined. There is no need for vigorous mixing; a gentle stir is enough.
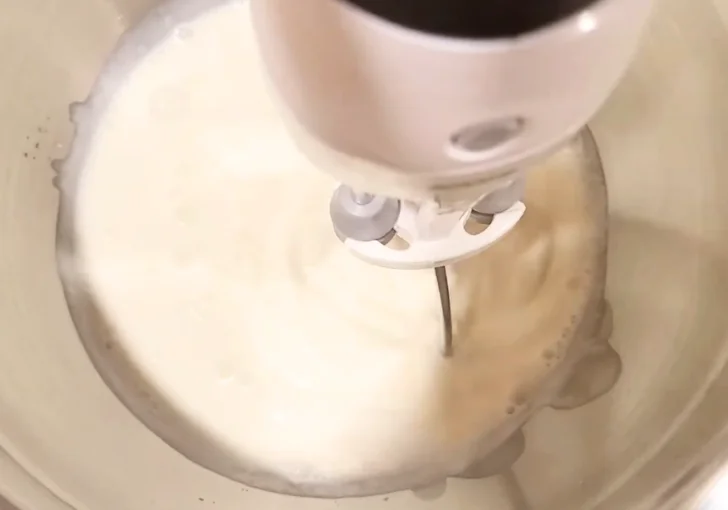
Step 3 – Add the Monk Fruit Sweetener
Add ¼ cup monk fruit sweetener to the cream and milk mixture. Stir until the sweetener is distributed throughout the mixture and as much of the granulated sweetener as possible has dissolved.
Monk fruit can remain somewhat grainy compared with regular sugar, so a small amount of undissolved granules is fine.
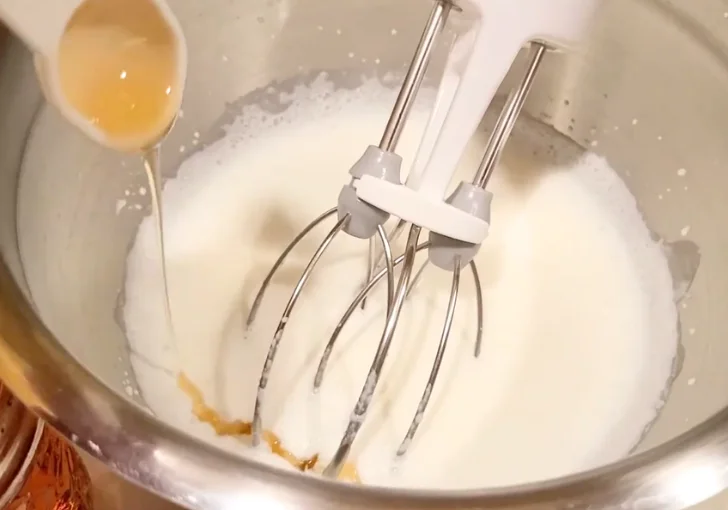
Step 4 – Add the Vanilla
Pour 1 teaspoon vanilla extract into the mixture and stir until fully incorporated. Continue mixing briefly so the vanilla is evenly distributed throughout the cream mixture.
Step 5 – Assemble the Dash Ice Cream Maker
Remove the completely frozen Dash bowl from the freezer and place it on the counter. Position the motor and lid assembly on top of the bowl and twist it into position until it is properly locked.
Make sure the motor is securely attached before turning on the machine.
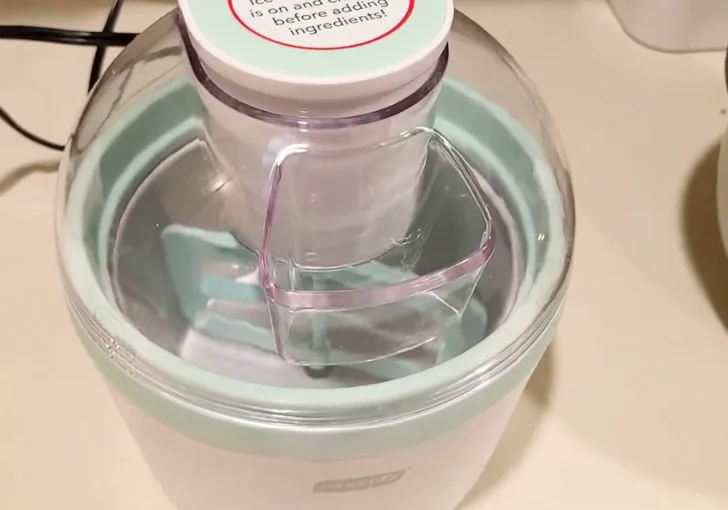
Step 6 – Start the Blade Before Adding the Mixture
Plug in the Dash ice cream maker and turn it on so the blade begins rotating before adding the ice cream mixture. This is important because pouring the liquid into a stationary bowl can cause the mixture to freeze against the sides before it begins churning properly.
Step 7 – Pour in the Ice Cream Mixture
With the blade already rotating, slowly pour the prepared mixture into the Dash bowl. A funnel can make this step easier and help prevent spills while transferring the liquid into the machine.
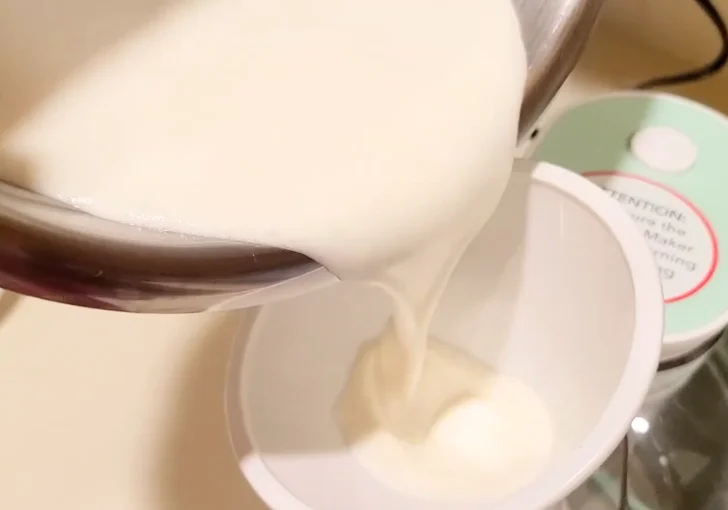
Step 8 – Churn for 30 Minutes
Set a timer for 30 minutes and allow the machine to run for the full time. During the first part of the process, the mixture will begin freezing against the inside walls of the bowl and gradually become thicker as the rotating blade incorporates air and moves the frozen mixture through the bowl.
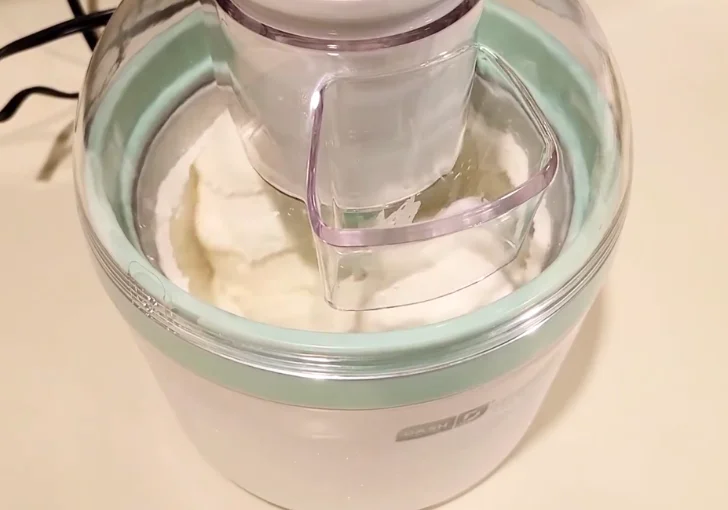
Step 9 – Check the Consistency
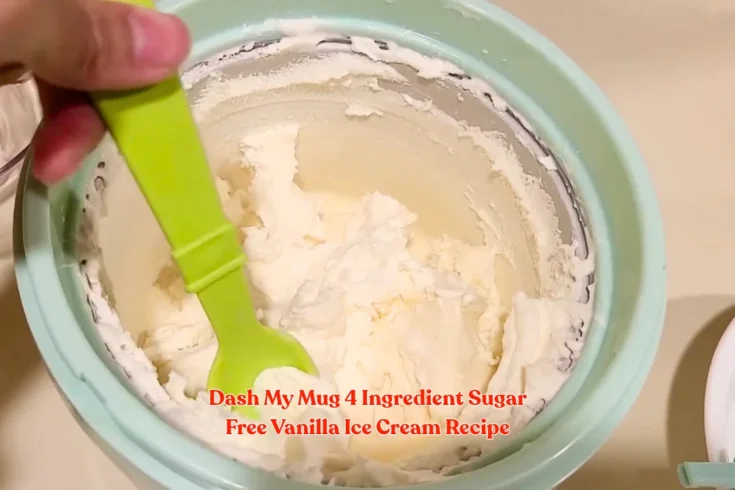
After about 30 minutes, the mixture should have changed from a thin cream mixture into a noticeably thicker, lighter, and fluffier ice cream.
The finished texture should be soft and scoopable rather than firm like commercially packaged ice cream. A spoon should move through it easily.
Step 10 – Turn Off and Remove the Ice Cream
Turn off the machine and unplug it before carefully removing the lid and motor assembly. Scoop the freshly churned ice cream into serving bowls using a plastic or silicone spoon or scoop.
Avoid metal utensils because the inside of the Dash bowl has a coating that can be scratched.
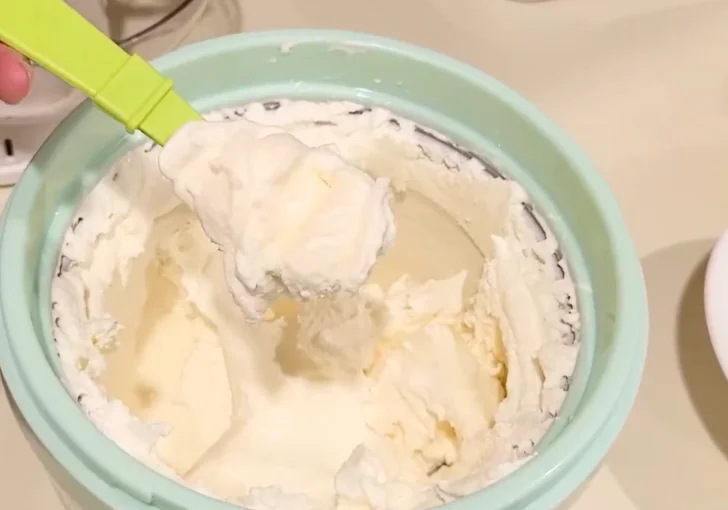
Step 11 – Freeze for a Firmer Texture
For a denser, harder texture, transfer the ice cream to a separate freezer-safe bowl and place it in the freezer for approximately 1 hour. Check the ice cream occasionally and remove it once it reaches the firmness you prefer.
The freshly churned version is naturally soft, so additional freezing is optional.
Step 12 – Clean the Dash Bowl and Parts
Remove the blade and wash it with mild soap and a soft sponge. Clean the freezer bowl gently with water, mild soap, and a soft sponge, avoiding abrasive cleaners and rough scrubbers that could damage the coating.
To clean the lid and motor assembly, press the tabs on the sides to release the motor from the plastic cover, then rinse and wash the removable plastic parts separately.
Tips & Notes for Making Creamy Sugar Free Vanilla Ice Cream
Freeze the bowl fully: Give it 8–12 hours, preferably overnight.
Keep the bowl cold: Take it from the freezer only when the ice cream base is ready.
Don’t overmix the base: A gentle stir is enough.
Expect slight graininess: Monk fruit sweetener may not dissolve completely.
Start the blade first: The mixture should go into a moving machine.
Use soft utensils: Plastic or silicone helps protect the freezer bowl.
Want firmer ice cream? Freeze the finished ice cream for about 1 hour.
Check your sweetener label: Monk fruit products can differ in sweetness and added ingredients.
Flavor Ideas to Try
Stronger vanilla: Add a little extra vanilla for a bolder vanilla taste. Keep the change small so the flavor stays balanced and the ice cream does not taste too sharp.
Berry vanilla: Fold a small amount of chopped strawberries or blueberries into the finished ice cream. Add the fruit after churning so the pieces stay fresh and easy to notice.
Chocolate vanilla: Add a few sugar-free chocolate chips after churning. The cold ice cream gives the chips a nice crunch without changing the simple vanilla base.
Nutty vanilla: Sprinkle chopped pecans or almonds over each serving. Add them at the end so they keep their crunch instead of becoming soft.
Coffee vanilla: Serve a scoop with a small pour of cooled coffee or espresso. The creamy vanilla and coffee make a simple dessert that tastes much richer.
Mistakes To Avoid While Making The Ice Cream First Time
Using a partly frozen bowl: This is one of the biggest problems. If the freezer bowl is not completely frozen, the mixture may stay thin instead of turning into soft ice cream.
Adding the base before starting the blade: I always turn the machine on first. A moving blade helps the base freeze and churn at the same time.
Expecting hard ice cream after 30 minutes: The finished mixture should be soft and fluffy. If you want firm scoops, give it about 1 hour in a separate freezer-safe container.
Trying to remove every grain of monk fruit: I don’t spend ages trying to make the sweetener disappear. A little graininess is normal with this type of sweetener.
Using metal tools: Metal can scratch the inside coating of the Dash bowl. I stick with a silicone or plastic spoon.
Freezing it for too long before serving: If the ice cream becomes very hard, let it sit at room temperature for a few minutes before scooping. This helps it soften naturally.
Creative Serving Ideas With This 4 Ingredient Sugar Free Vanilla Ice Cream
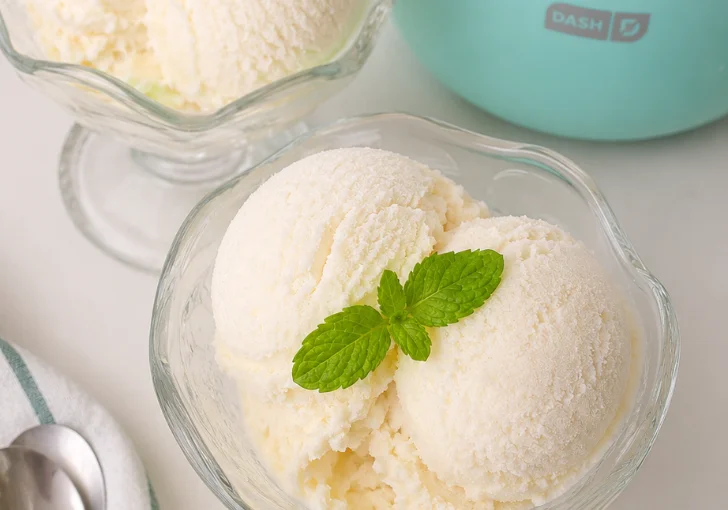
Fresh berries: Spoon strawberries and blueberries over the ice cream for a bright, juicy topping. The berries add color and a light tart taste, while the vanilla keeps the dessert smooth and mild. This works well for a quick summer treat.
Warm baked apples: Serve a scoop beside cinnamon baked apples. The apples bring soft texture and warm spice, while the cold ice cream cools each bite. This pairing feels cozy after dinner and needs no extra sauce or topping.
Sugar-free chocolate sauce: Drizzle sugar-free chocolate sauce over the scoop when you want a deeper dessert. The sauce adds a rich cocoa taste without changing the ice cream base. Keep the drizzle light so the vanilla flavor still comes through.
Chopped pecans: Add toasted pecans for a crisp bite and a warm nut flavor. Chop them small, then scatter them over the top. A pinch of salt on the nuts can make this simple dessert taste fuller and more balanced.
Fresh peaches: Pair the ice cream with ripe peach slices during peach season. Choose fruit that feels soft and smells sweet. The juicy peaches bring a fresh, sunny taste that fits the cool vanilla especially well on warm days.
Coffee float: Drop a scoop into a glass of cooled coffee for a fast coffee float. The ice cream melts into the drink and makes it creamy. Use strong coffee if you want the flavor to stay noticeable.
Warm brownies: Place a scoop beside a warm brownie and let it soften over the top. The cold ice cream and fudgy brownie make a rich contrast. Add chopped nuts if you want extra texture in each bite.
Leftover Storing & Freezing Instructions
Leftover Restoring
I move leftover ice cream from the Dash bowl into a clean, freezer-safe container. I don’t store the ice cream inside the freezer bowl because the bowl needs proper care and should not be used as the long-term storage container.
Keep the ice cream covered tightly to reduce ice crystals and keep freezer odors away.
Freezing
For the best texture, I like to enjoy this ice cream soon after making it. If I freeze leftovers, I keep the container tightly covered and use the ice cream within a few days for the best quality. The ice cream will become much harder after longer freezing.
Let it sit at room temperature for several minutes before scooping so it can soften enough to serve.
FAQs
Is this Dash My Mug 4-Ingredient sugar-free vanilla ice cream really sugar-free?
The recipe does not use regular granulated sugar. It uses monk fruit sweetener instead. Still, sweetener products can contain added ingredients, so I always check the nutrition label on the exact monk fruit product I use. Some blends contain ingredients such as erythritol or other sweeteners.
Why does my sugar-free vanilla ice cream taste slightly grainy?
The slight grainy texture can come from the monk fruit sweetener. Granulated monk fruit sweeteners do not always dissolve as easily as regular sugar in a cold cream mixture. I stir the base well, but I don’t worry about a small amount of graininess. It does not stop the ice cream from freezing properly.
Why is my ice cream still soft after 30 minutes?
This recipe is designed to produce a soft-serve texture after the 30-minute churn. If you want a firmer scoop, move the ice cream into a separate freezer-safe container and freeze it for about 1 hour. Also check that the Dash bowl was completely frozen before churning.
Can I use allulose instead of monk fruit sweetener?
Yes, allulose can be used as an alternative, but I would check the sweetener’s package for the proper conversion because different products vary in sweetness. I prefer allulose when I want a smoother base because it tends to dissolve more easily than granulated monk fruit sweetener.
Can I make the ice cream sweeter?
You can adjust the sweetness, but I recommend making small changes. Monk fruit sweeteners vary by brand, and some are much sweeter than others. I would check the product label and taste the base before churning. This helps prevent adding far more sweetener than needed.
Can I churn the mixture longer than 30 minutes?
The recipe uses a 30-minute churn, and that is the point I use to check the texture. If the mixture has become thick and soft-serve-like, I stop the machine. Running the machine longer does not automatically produce harder ice cream, especially if the freezer bowl is losing its cold temperature.
Can I freeze this ice cream overnight?
Yes. I can freeze leftovers overnight in a separate freezer-safe container. The ice cream will become much firmer than its fresh soft-serve texture. Before serving, let it sit at room temperature for a few minutes. This gives it time to soften enough for easier scooping.
Why should I avoid a metal spoon with the Dash bowl?
The inside of the Dash freezer bowl has a coating that can be scratched by metal utensils. I use a soft silicone or plastic spoon or scoop when removing the ice cream. It is a small step, but it helps protect the bowl and keep it in good shape.
Can I add fruit to this vanilla ice cream?
Yes, fruit is a nice match for the plain vanilla base. I prefer adding chopped fruit after churning so the pieces keep more of their shape and fresh taste. Strawberries, blueberries, and peaches all work well with the creamy vanilla flavor.
Can I make this recipe ahead of time?
Yes, I can make it ahead and freeze it in a separate freezer-safe container. I prefer serving it fairly soon after churning because that is when the texture is soft and creamy. If I freeze it for longer, I let it sit out briefly before scooping to soften it.
Dash My Mug 4 Ingredient Sugar Free Vanilla Ice Cream Recipe
This Dash My Mug 4-Ingredient Sugar-Free Vanilla Ice Cream Recipe makes a creamy homemade vanilla treat with heavy cream, whole milk, monk fruit sweetener, and vanilla. I use the Dash My Mug ice cream maker to get a soft-serve texture in about 30 minutes after a few minutes of prep. It’s an easy sugar-free vanilla ice cream recipe for beginners, with no eggs or cooked custard. The batch is simple, rich, and lightly sweet. Serve your scoop with fresh berries, chopped pecans, or sugar-free chocolate sauce for an easy dessert.
Ingredients
- 1 cup heavy whipping cream
- ½ cup whole milk
- ¼ cup monk fruit sweetener
- 1 teaspoon vanilla extract
Equipment
- Dash ice cream maker
- Dash freezer bowl
- Mixing bowl
- Mixing spoon or whisk
- Funnel, optional
- Soft silicone or plastic spoon/scoop
Instructions
- Place the clean Dash freezer bowl in the freezer and leave it there for 8–12 hours, making sure it is completely frozen before starting the recipe. The freezing liquid inside the bowl's walls needs to be solid for the machine to properly churn and freeze the ice cream.
- Add 1 cup heavy whipping cream and ½ cup whole milk to a mixing bowl. Stir the two ingredients together until evenly combined.
- Add ¼ cup monk fruit sweetener to the cream and milk mixture. Stir until the sweetener is distributed throughout the mixture and as much of the granulated sweetener as possible has dissolved.
- Pour 1 teaspoon vanilla extract into the mixture and stir until fully incorporated. Continue mixing briefly so the vanilla is evenly distributed throughout the cream mixture.
- Remove the completely frozen Dash bowl from the freezer and place it on the counter. Position the motor and lid assembly on top of the bowl and twist it into position until it is properly locked. Make sure the motor is securely attached before turning on the machine.
- Plug in the Dash ice cream maker and turn it on so the blade begins rotating before adding the ice cream mixture. This is important because pouring the liquid into a stationary bowl can cause the mixture to freeze against the sides before it begins churning properly.
- With the blade already rotating, slowly pour the prepared mixture into the Dash bowl. A funnel can make this step easier and help prevent spills while transferring the liquid into the machine.
- Set a timer for 30 minutes and allow the machine to run for the full time. During the first part of the process, the mixture will begin freezing against the inside walls of the bowl and gradually become thicker as the rotating blade incorporates air and moves the frozen mixture through the bowl.
- After about 30 minutes, the mixture should have changed from a thin cream mixture into a noticeably thicker, lighter, and fluffier ice cream. The finished texture should be soft and scoopable rather than firm like commercially packaged ice cream. A spoon should move through it easily.
- Turn off the machine and unplug it before carefully removing the lid and motor assembly. Scoop the freshly churned ice cream into serving bowls using a plastic or silicone spoon or scoop. Avoid metal utensils because the inside of the Dash bowl has a coating that can be scratched.
- For a denser, harder texture, transfer the ice cream to a separate freezer-safe bowl and place it in the freezer for approximately 1 hour. Check the ice cream occasionally and remove it once it reaches the firmness you prefer. The freshly churned version is naturally soft, so additional freezing is optional.
- Remove the blade and wash it with mild soap and a soft sponge. Clean the freezer bowl gently with water, mild soap, and a soft sponge, avoiding abrasive cleaners and rough scrubbers that could damage the coating. To clean the lid and motor assembly, press the tabs on the sides to release the motor from the plastic cover, then rinse and wash the removable plastic parts separately.
This Dash My Mug 4 ingredient sugar free vanilla ice cream recipe is one of those easy desserts I like keeping in my recipe box. The ingredient list is short, the steps are simple, and the Dash machine handles the churning.
I love the creamy vanilla flavor and the option to enjoy it soft or freeze it for a firmer scoop.